
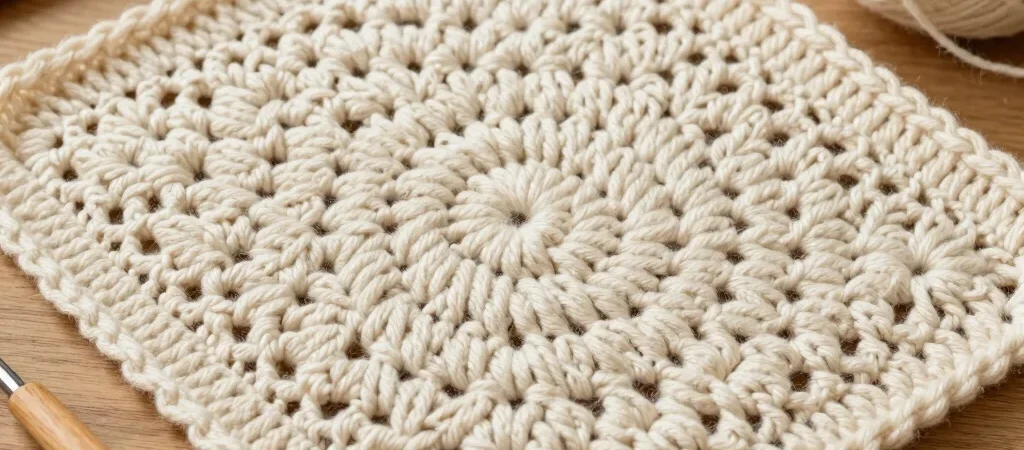
The alpine stitch is one of the most rewarding techniques for crocheters looking to add deep tactile textures to their work. By alternating standard double crochet stitches with front post double crochet stitches across alternating rows, you create a rich diamond-like grid that traps heat and feels wonderfully substantial. It transforms simple blankets, scarves, and throw pillows into heirloom-quality pieces.
Setting Up Your Foundation Row
Starting the alpine stitch requires an odd number of foundation chain stitches to keep your stitch count symmetrical throughout the piece. Work a preliminary row of single crochet, followed by a row of standard double crochet to establish the working height. Taking time to ensure your initial tension is even prevents the lower edge from curling inward as the textured post stitches draw the fabric together.
Working Front Post Stitches with Even Tension
The signature raised texture comes from inserting your hook around the stem of the double crochet stitch two rows below rather than under the top loops of the current row. Keep your hook gauge steady and pull the loop up to the height of your working row before completing the stitch. If you pull too tightly, the fabric will pucker; if you leave it too loose, the raised ridges will lose their defined architecture.
Finishing and Blocking for Peak Definition
Once you achieve your desired project length, finish with a final row of single crochet to match your foundation border. Steam blocking or gently pin-blocking your finished swatch highlights the relief of each post stitch and relaxes the fiber texture. This simple step turns a dense fabric into a soft, supple piece with beautiful movement.